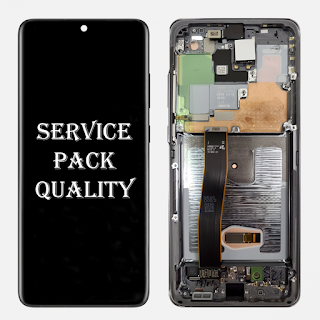
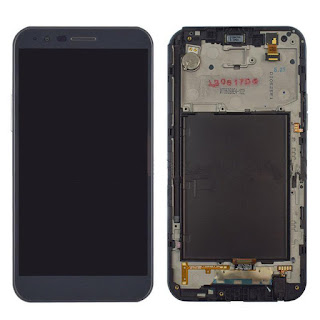
Guide for iPhone Screen Replacement
For a replacement screen repair, it is necessary to
disassemble the iPhone completely; therefore, it is suggested that before
commencing the restoration, get a few small pieces of paper to label your
parts, and in particular, the origin of the screws.
What are the steps in screen
replacement?
Label them as follows; Metal Back Screws, aluminum back
case, and motherboard - laid them out on the workspace in this order with a
small space between them for the iPhone x LCD screen
replacement components and replacement screen to lie in.
The tools and equipment are necessary for this repair
are; a small Phillips screwdriver, a case opener, a paperclip to eject the SIM
tray, and in the process of iPhone screen replacement, once you have these to
hand and the paper labels lined up.
Firstly remove the SIM tray - do this by inserting the
paper clip in the hole on the top side of the iPhone next to the power button;
when the clip is inserted, the SIM tray should eject. In the next step, you
have to use the case opener to remove the plastic back of the iPhone.
The next step is to remove the two small screws on either
side of the back, securing the metal casing, and another screw located top,
middle of where you extracted the plastic cover on the back - placing these on
the paper label. After this, you will need to remove ten screws from around the
sides of the iPhone and put them on the paper label 'Outside Case.'
The next step is to remove the LCD screen to fit the
replacement screen - this is possibly the most challenging part of the repair
and needs to be done with extreme caution.


Comments
Post a Comment